 Cybercom Inc
Web intelligence
Internal Link Audit for a Small Website
An internal link audit asks whether a visitor can reach each important page by following ordinary links from the site’s entry points. A page can appear…
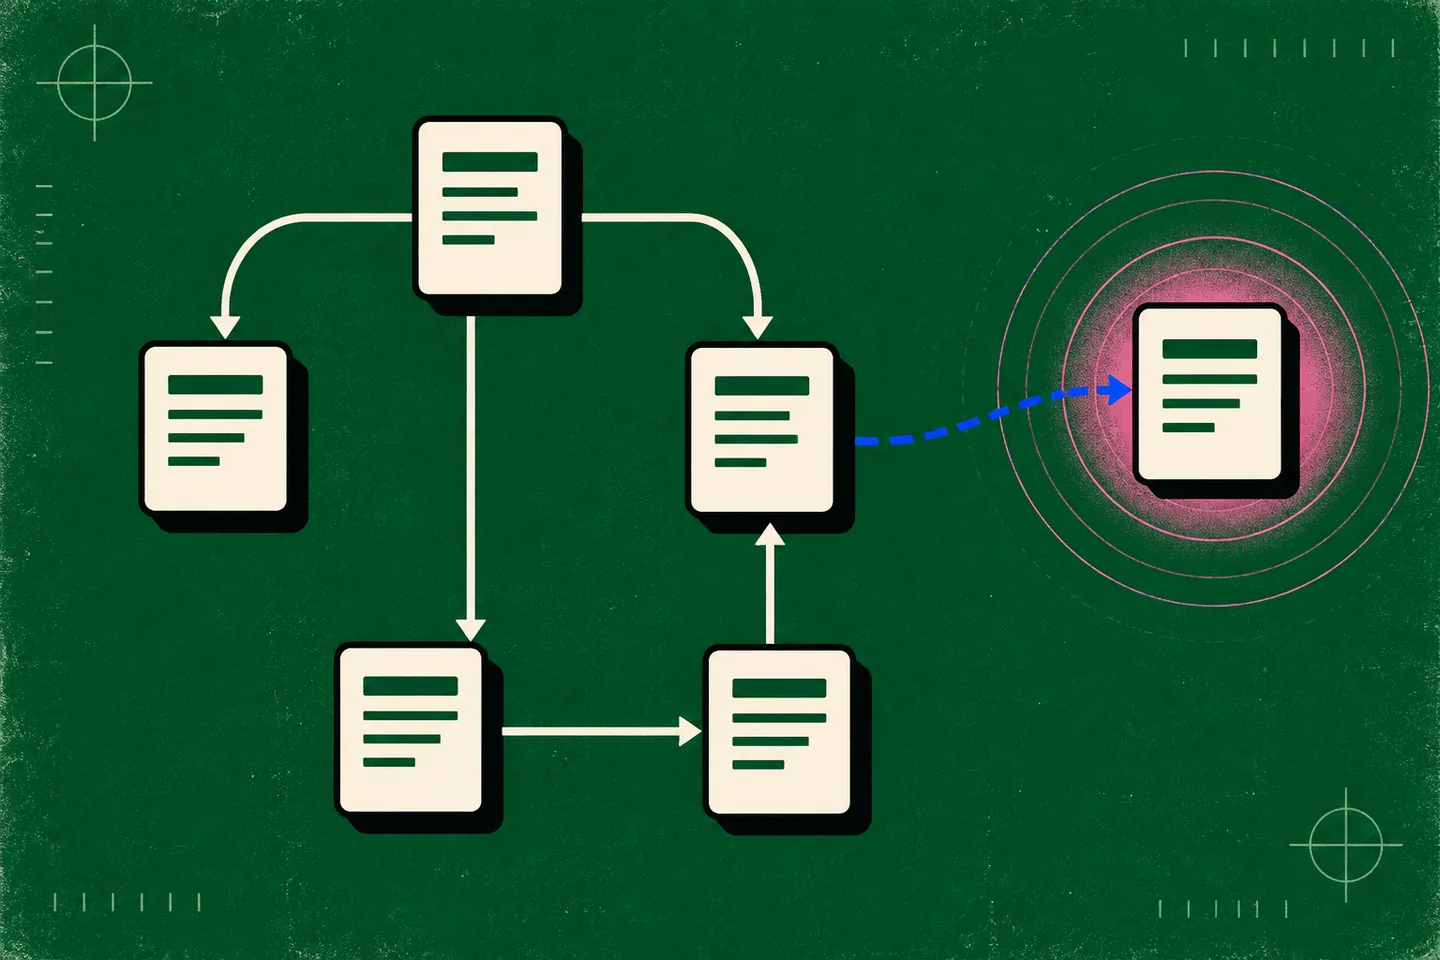
An internal link audit asks whether a visitor can reach each important page by following ordinary links from the site’s entry points. A page can appear in a sitemap and load when its address is typed directly, yet remain absent from the routes people use to explore the site. On a small website, compare the pages you intend to offer with the links a crawl actually finds. Then repair the gaps that affect useful routes.
Build a page list and a link list
Start with the XML sitemap, a page inventory if one exists, and important live URLs that either list omits. Note what each page is for. A contact page, an older reference article, and a duplicate URL variant call for different decisions. A sitemap lists URLs the site considers important; it does not show whether a visitor can reach them through links. Google’s sitemap guidance explains that inclusion may help discovery but does not guarantee crawling or indexing.
Make the second list by crawling from the home page and other genuine entry points, following internal HTML links. Export the discovered URLs and, for each link, its source page, destination, visible anchor text, and response. Set the crawl boundary to include the whole site: restricting it to one directory can make healthy pages appear orphaned. If navigation is inserted by JavaScript, inspect the rendered page as well as the initial HTML. Google says links are generally crawlable when they are HTML anchors with an href pointing to a usable address; click handlers and link-like elements without that markup are less reliable paths for discovery.
Compare the lists by URL, respecting the site’s rules for trailing slashes, redirects, letter case, and query strings. Do not merge addresses simply because they look similar. An old URL that redirects, its destination, and a separate page with near-identical text represent different findings. Keep the original addresses in the audit record so each proposed edit can be traced to the page or link that needs it.
Investigate pages the crawl cannot reach
Consider a site where the home page links to /guides/ and /services/. The guides page links to /guides/site-maintenance/, and the services page links to /contact/. The sitemap also lists /guides/link-checks/, but the crawl finds no internal link to it. This is an orphan candidate within the crawl’s boundary. It is not proof that nobody can reach the page: the crawl may have missed rendered navigation, another entry point, or a differently written path. An external site might also link directly to it.
Open the candidate URL. Does it show the intended page, redirect, or return an error? Is its checklist distinct from the site-maintenance guide? Check the guide index and navigation in a browser, including rendered links if necessary. Look for a link using a variant of the path. If you have Search Console access, inspect the URL there. Google’s URL Inspection documentation describes how its indexed-URL information and live test differ. Neither tells you whether the page has a useful internal path, and a successful live test does not guarantee indexing.
If the page loads and offers a distinct link-checking checklist, a short contextual link from /guides/ may be the right repair. Use a label such as “check links across your site” only if it accurately describes the destination. Crawl again and verify a path from the home page through the guide index. If the page instead duplicates a newer guide, decide which URL should serve the content and handle the old route deliberately. An absent crawl path alone is no reason to delete a page, remove its sitemap entry, or redirect it.
Give each candidate a disposition: link it from a relevant page, investigate a crawl limitation, correct a mistaken URL, or make a separate content decision about a duplicate. This keeps a count of orphan candidates from becoming an automatic instruction to add links everywhere. A page needed only by a narrow audience may still deserve a clear path from the section where that audience would look.
Separate broken links from missing paths
Next, review links whose destinations fail. Open the source page and follow each link as a visitor would. A mistyped path returning a missing-page response calls for a correction at the source. A link that redirects to the right page may still merit an update if the current address is known. A temporary server error needs investigation rather than a replacement link. Record the observed response and final destination; treating every failed request as the same defect obscures the repair.
Check the destination’s purpose before changing it. A reference to a removed event notice may no longer belong in the article. A renamed guide should point to the current guide. A broken navigation link deserves early attention because it interrupts a path visitors are likely to try. An old post with a rarely used reference may be less urgent, even if its link has the same response code. Prioritise by the usefulness of the route, the number of places it appears, and whether the correct destination is clear.
Keep unreachable pages and broken links as separate categories. An orphan candidate may load perfectly but lack a path from the entry points; a broken link may sit in otherwise sound navigation. Repairing one does not automatically repair the other. If a link points to a redirected URL, note both the source and the final destination so the edit can be checked without guessing which address was intended.
Make link labels describe their destinations
A working link can still be unclear. Scan the export for labels such as “here,” “more,” or repeated “read more.” Read each within its sentence: could someone predict the next page? Google’s link guidance recommends concise, relevant anchor text that gives context for the destination. That is an editorial test, not a reason to repeat a search phrase in every link.
For example, “See more” beside a paragraph about site maintenance could become “See the site link-check checklist” if that is where the link goes. Keep the sentence natural. If two guides have similar titles, distinguish their purposes in the link text: one might cover broken paths while another covers navigation planning. If the difference is hard to state, review the pages themselves before adding another link.
Also inspect controls that look like links but lack a usable address. A scripted element may navigate in a browser while leaving the route absent from a basic HTML crawl. Where the action takes a visitor to another page, use a standard anchor with an address and test it in the rendered page. Changing its visible label without fixing the underlying navigation does not make the destination easier to find.
Keep a repair log and verify each edit
For a small site, use a short log with the source URL, destination URL, observed behaviour, proposed edit, and result. Mark “sitemap-listed but not crawled,” “broken internal link,” and “unclear label” separately. One page can have several findings, but each edit should answer a specific observation. Record unresolved cases with the reason they need further investigation rather than treating them as completed repairs.
After editing, crawl from the same entry points with the same boundary. Confirm that each repaired link appears in the HTML, reaches the intended page, and creates the expected route. Open affected pages manually to catch a misleading label or awkward placement that the crawl cannot judge. If a separate content decision changes a sitemap entry, check that the sitemap now names the intended URL. The finished log should show which important paths work and which findings still need a decision.